
Sharing the step by step instructions for how to make this large DIY Reclaimed Pallet Wood American Flag Wall Sign Art for your home with pictures.
Our newest patriotic DIY pallet project only took 2 hours to make & cost nothing to create thanks to supplies we already had on hand at our farmhouse!
We created a giant pallet wood american flag for our family room wall just in time for the 4th of July!
Table of Contents
DIY Pallet Wood American Flag
*this post contains affiliate links for more information check out our disclosure page*

Jason’s parents gave us this huge vintage American flag they found at auction & I could not wait to hang & display it at our farmhouse!
Supplies Needed for a DIY Pallet Wood American Flag
- An American Flag (or flag of your favorite country)
- Pallet
- Scrap wood for back frame
- A giant cardboard box
- Staple Gun & Staples
- Chop Saw & Table Saw to cut your wood
- Packing Tape
- Large Screws for the back frame & a Screwdriver
- L shaped brackets & small screws
- Pin Nailer to Nail the front pallet frame
- Twine to hang your pallet wood American Flag

Step by Step Instructions for How to Make a DIY Pallet Wood American Flag
Our Pallet Wood American Flag is 57.5″ wide by 37.5″ tall by 1.5″ deep in size not accounting for the twine.
Step ONE – Take Apart the Pallet Wood
Take apart your pallet & salvage the pallet wood (if this is your first pallet project you may want to check out this post on how to take apart a pallet in 6 easy steps)

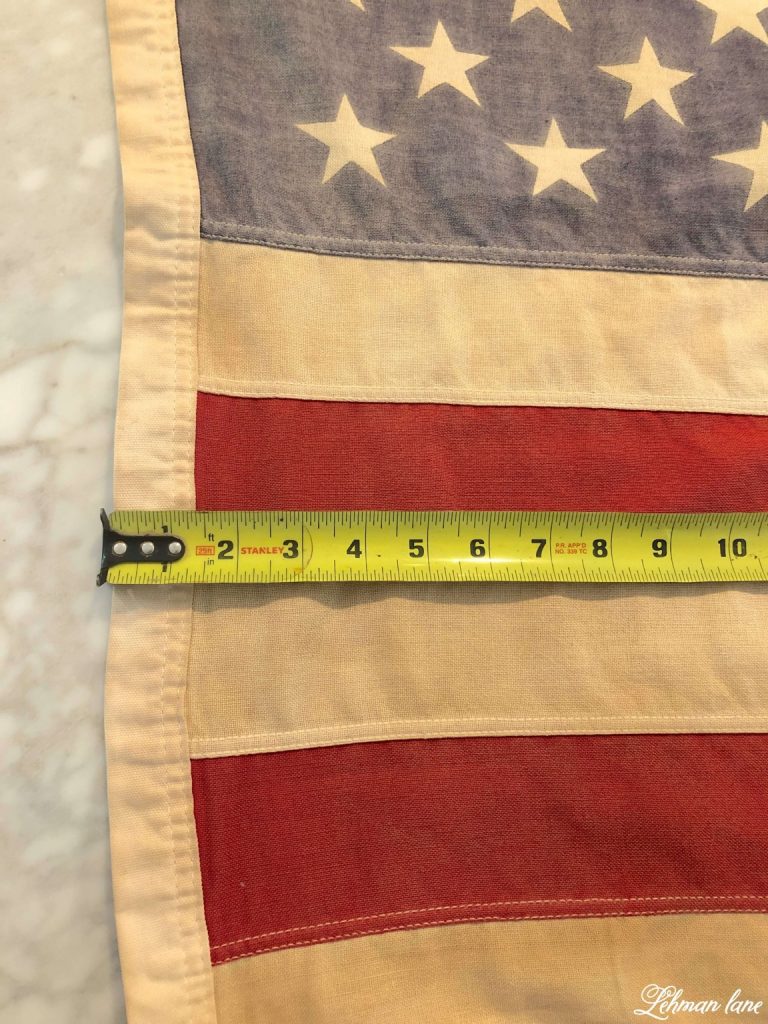
Step TWO – Measure Your American Flag
Iron & Measure out your American Flag so you know how big to make the wood frame.
Although, our vintage American flag was originally 3 by 5 foot long it had definitely shrunk over the years.
Step THREE – Cut the Wood for the Back Frame of Your Pallet Wood American Flag
Cut your scrap wood for the back frame of the reclaimed DIY pallet wood American flag making angled cuts for the corners & a few vertical boards for inside of the frame.

Step FOUR – Screw the Back Frame Together
First, Pre-drill holes for 3″ screws to fit & screw the corners & tops & bottoms of your vertical boards.

We used L shaped brackets & short screws to connect the angled corners.

Now the back frame of your pallet wood American flag is done!
Step FIVE – Add Card Board to the Back of your Frame
Using a giant Ikea box (leftover from our new master bedroom sitting area), we cut & stapled the back of the frame of our pallet wood American flag.
The cardboard helps keep dust out & gives the frame a smooth back when hanging against a wall.

Step SIX – Add your American Flag the Back frame
We laid our American flag over the scrap wood frame & taped it around the edges with clear packing tape.
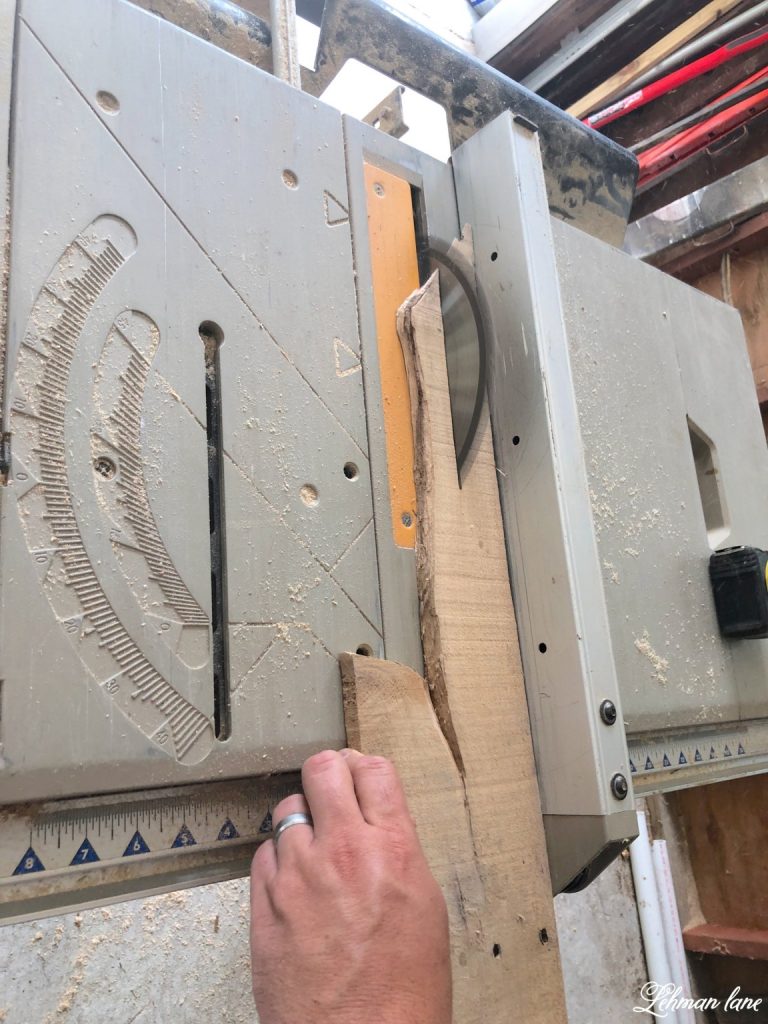
Step SEVEN – Cut the Pallet Wood Frame
We cut the pallet wood to frame around the front of the flag & the sides of the frame.
Step EIGHT – Attach Pallet Wood to Your American Flag
We attached the pallet wood with our handy dandy finish Pin Nailer so the nails would not show giving the Pallet Wood American Flag a clean look!

Step NINE – Sand Down Your Pallet Wood
Roughly sand down the edges of the pallet wood.

Step TEN – Attach Twine to the Back of Your Pallet Wood American Flag
Using our staple gun, we attached the twine to the back of the frame so we could hang our Pallet wood American flag.
With the twine, the American flag can easily hang from a single screw or nail.


I love the character of the pallet wood next to the worn cotton of our vintage American flag.


It makes the perfect farmhouse decor for the 4th of July & looks terrific hanging in our family room year round!
by Tara Lehman
Don’t Forget to Save & Pin our DIY Pallet Wood American Flag or follow along on Pinterest!

If you like this Pallet Project from Lehman lane, you can see them all HERE…
Some more 4th of July ideas you might enjoy


