
Sharing all the details of How to Make a Beautiful DIY Christmas Pallet Nativity Sign in 2 hours for FREE with Step by Step Instructions & pictures.
Did you see our Christmas Pallet Nativity Sign on this year’s Christmas home tour?
Well, today I am sharing how we created our newest pallet project to decorate our farmhouse for Christmas.
We made it for FREE in less than 2 hours.
Gotta love those wooden pallet projects!
Table of Contents
DIY Christmas Pallet Nativity Sign
*this post contains affiliate links for more information check out our disclosure page here*

As I have been sharing in my recent Christmas posts, I am really trying to be more intentional with my Christmas decorating to remind our family of the miracle of Christmas.
This pallet project does just that!
We created this Christmas Pallet Nativity entirely out of scrap pallet wood & a little white paint!
Supplies & Tools Needed to Create a Christmas Pallet Nativity Sign
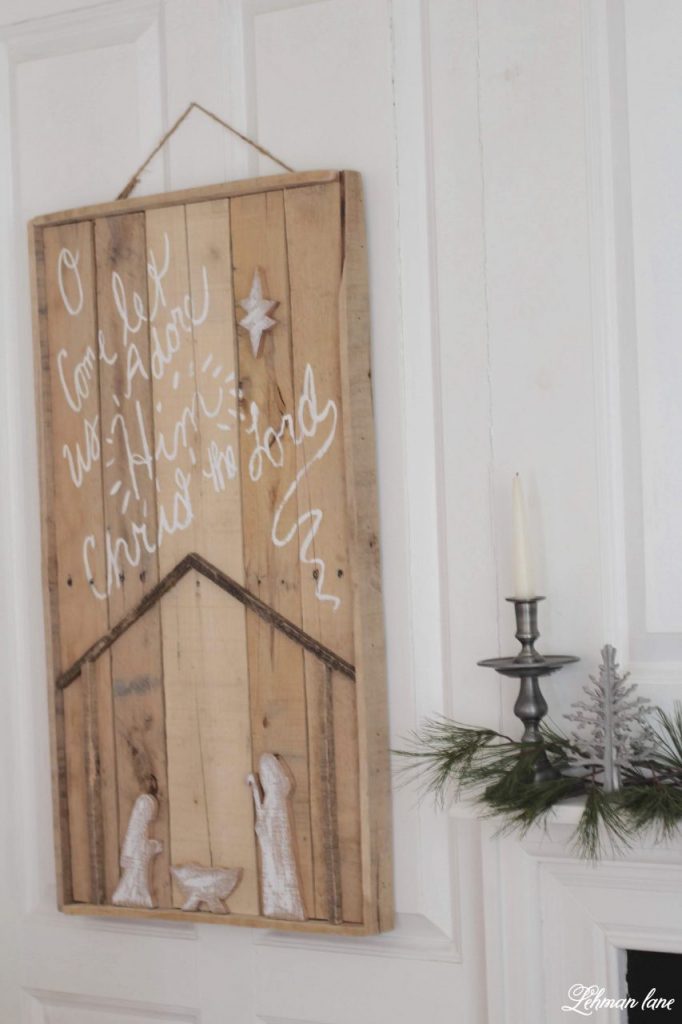
Our Christmas Pallet Sign is roughly 20″ wide by 36″ high
- Pallet Wood
- Circular Saw
- Finish Nailer
- Table Saw
- Jigsaw
- Pencil, Paper & Scissors
- Orbital Sander & Sand Paper
- White Paint & Paint Brush
- Twine to hang Christmas Pallet Sign
Step by Step Instructions for How to Make a Christmas Pallet Sign
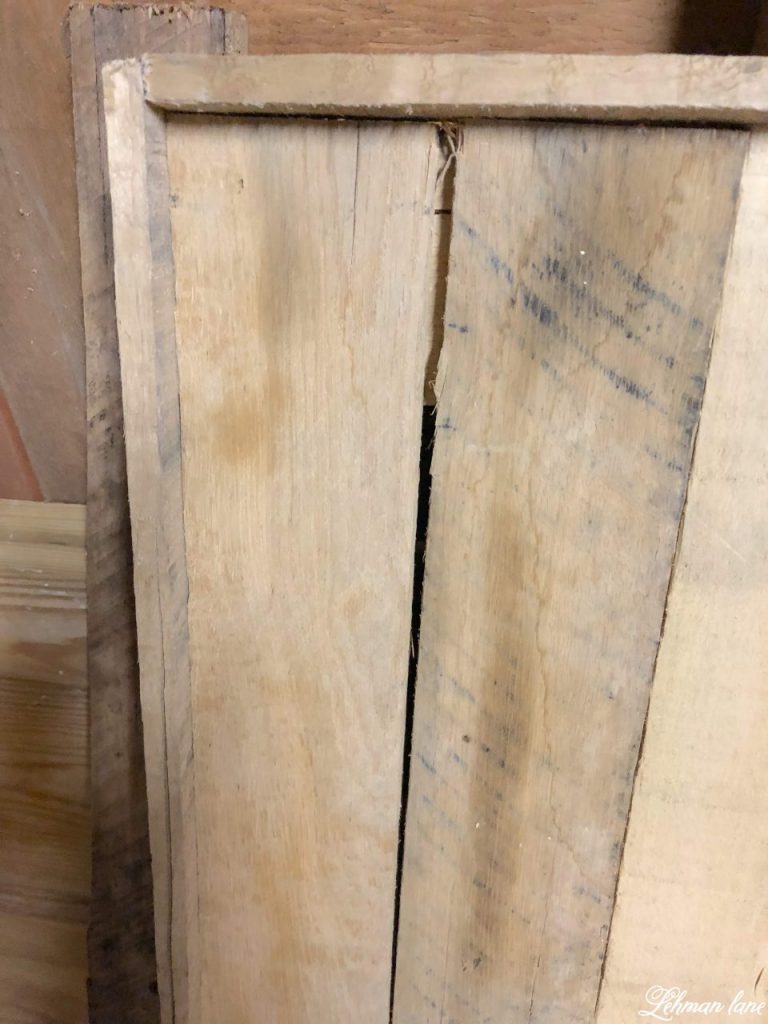
Step ONE – Take Apart the Pallet Wood & Cut the Pallet Wood to Length

For tips on how to take apart a pallet safely, see the post HERE.
After taking our pallet apart, we wanted to keep the pallet wood as long as possible.
We lined up the long pallet wood boards vertically.

Step TWO – Nail the Pallet Wood Boards in Place
We nailed the pallet wood boards in place with some scrap wood horizontally across the back of the Christmas pallet sign.
To give it a more finished look, we framed the sign with some more pallet wood.
Our Christmas pallet sign is roughly 20″ wide by 36″ high.
Step THREE – Create a Nativity Creche
Jason zipped a pallet wood board down vertically with his table saw to create a simple creche that is 18″ high.

Step FOUR – Trace out Nativity Figures & Star
I drew a simple Joseph, Mary, Jesus & a star on construction paper & cut them out as a template.
I traced my cutouts longways on an extra pallet wood board.

Step FIVE – Cut out Nativity Figures
Jason cut them out using his jigsaw.
We used our Finish Nailer to nail each character & creche on.

Step SIX – Sand the Christmas Pallet Sign
We sanded the whole pallet wood sign down with our orbital sander.
Step SEVEN – Paint the Nativity Figures & Christmas Hymn
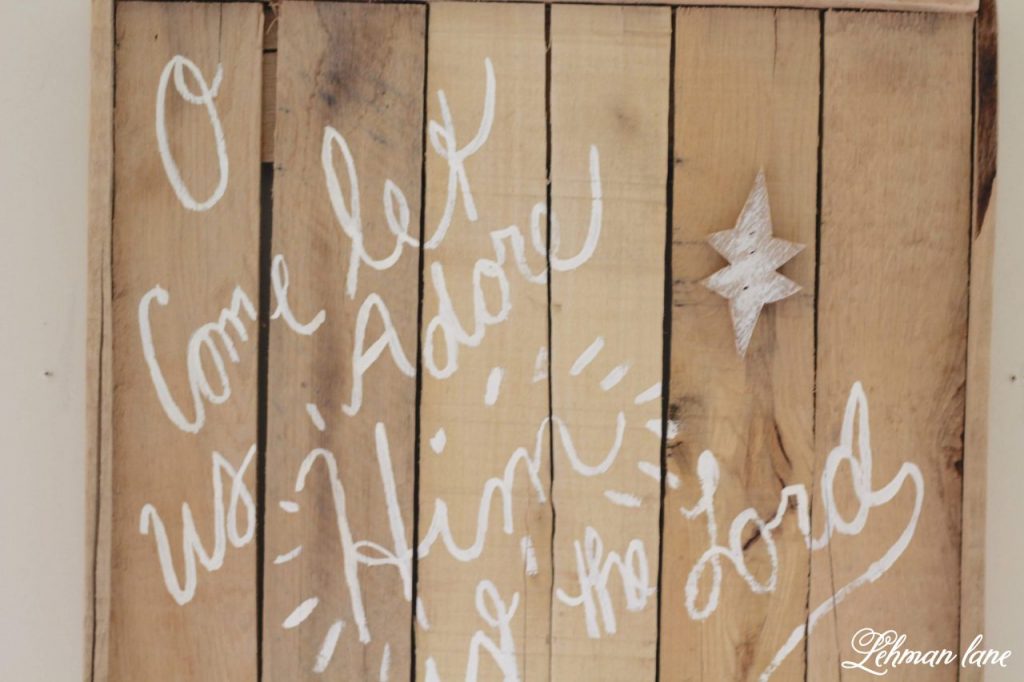
I wrote “O Come let us Adore Him, Christ the Lord” from the Christmas hymn “O Come All Yea Faithful” first with pencil & then with white acrylic paint.
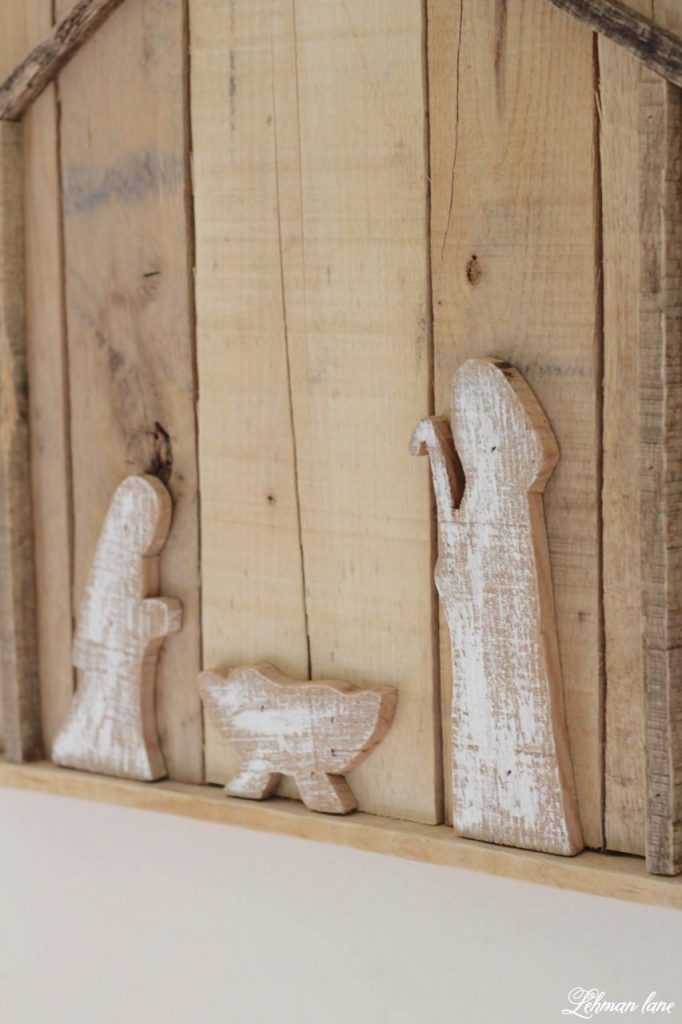
I also added a little paint to the characters as well.
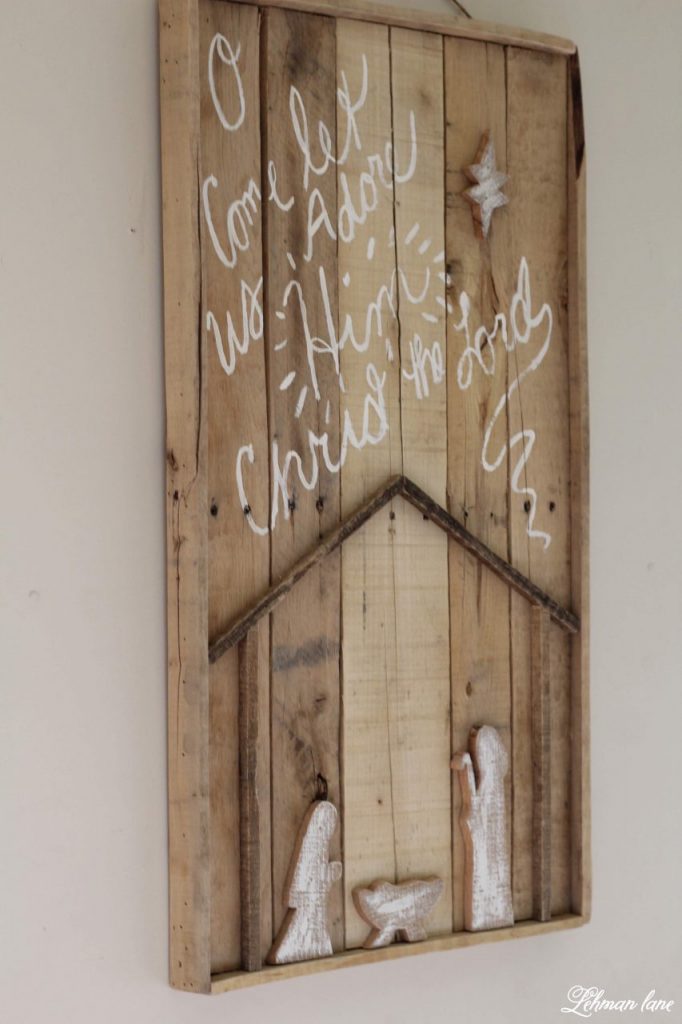
Step EIGHT – Hang your Christmas Pallet Sign with Twine
Lastly, we added twine to 2 picture hangers we hung on the back of our Christmas Pallet Nativity Sign.

I recently moved it it from our living room to our dining room because I really love how it stands put against our fireplace wall.
I hope this inspires you to create this Christmas Pallet project for your home! Thanks so much for stopping by & Merry Christmas!
by Tara Lehman
Some More Pallet Projects & Christmas Ideas You Might Enjoy


