
We created a gorgeous DIY Wood Pallet Shelf in less than an hour that I could add fresh flowers to throughout the year.
We loved the look of our pallet shelf so much that we added another shelf to our farmhouse kitchen to hold my rolling pins & antique platters.
Sharing all the details & ideas for how to make a gorgeous DIY Wood Pallet Shelf for your wall in less than an hour below.
Table of Contents
DIY Gorgeous Wood Pallet Shelf for Flowers
*this post contains affiliate links for more information check out our disclosure page here*

Supplies & Tools Needed to Make a Pallet Shelf
Our Pallet Wood Shelf is 21 ” wide, 13.5 inches tall & 4 3/4 inches deep
- 1 Pallet
- Saw-zaw or Reciprocating saw
- Circulating Saw
- Jigsaw
- Pin Nailer
- Orbital Sander or Sand Paper
- Jelly Mason Jars to Place Fresh Flowers in
Instructions for How to Make a Pallet Shelf
Taking Apart & Cutting Pallet Wood
Jason is always up for helping me with projects made with pallet wood. Pallet wood is awesome because it’s free & has so much character!!!
Rather than dismantling a whole pallet like I would normally do for a pallet project, I only used a small section of the bottom of it.
Because this pallet had a built in curve on the side it was the perfect to remake for a wood shelf.

Jason helped me saw apart the top 1/3 of the pallet using his saw-zaw.


Next he sawed the top portion in half again with his circular saw.

The portion of the pallet shelf that is left is now 21 inches wide, 13.5 inches tall & 4 3/4 inches deep.
Which so happens to be the perfect size for a pallet wall shelf!
Adding Details & Assembling the Pallet Wood Shelf

Jason cut one of the top sides of the shelf with a jigsaw freehand to create a curve.
Using the curved piece of wood as a template for the other side he curved the other top side so they both matched.

Jason next cut 2 pieces of pallet wood.
One for the back of the shelf to give it a solid back & one for the bottom of the shelf so that the flowers wouldn’t fall out.
He attached both boards with our pin nailer.
Hanging our Pallet Shelf for Flowers in the Bathroom
Lastly, we sanded the wood shelf down as best as we could and drilled a hole along the center of the back to hang the shelf with.
We nailed our pallet shelf to the wall making sure to nail it into a stud in our wall.

The shelf depth is the perfect size for a jelly mason jar!

I added three pint jars to the inside of the wood pallet shelf so it could hold lots and LOTS of flowers. 🙂

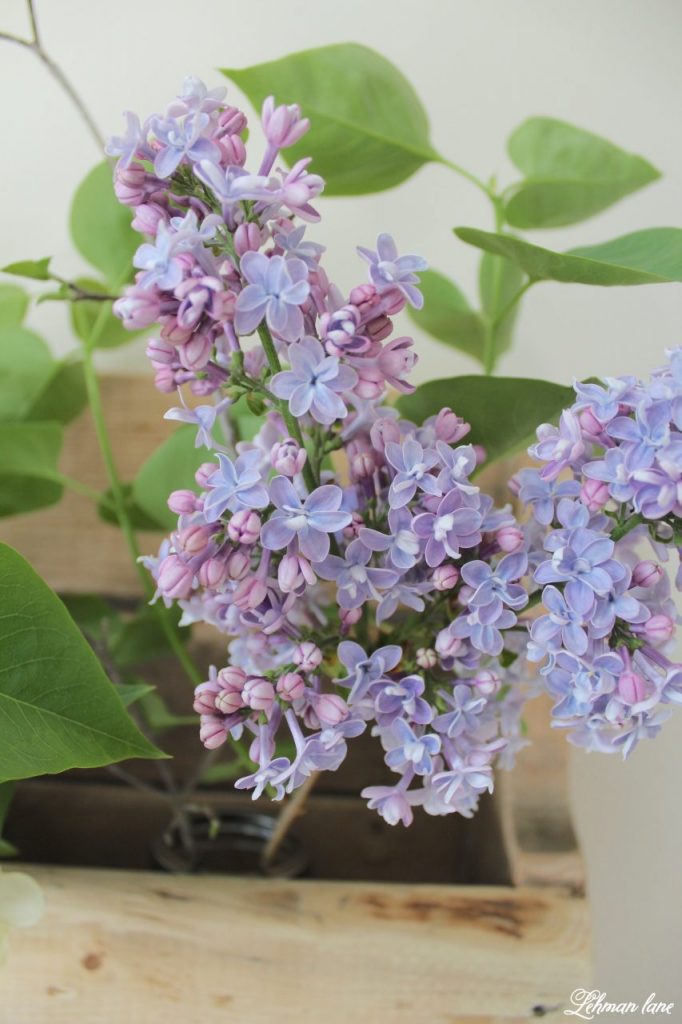
With Spring upon us here in PA, I was able to bring in some fresh lilac &dogwood blooms from our yard.

The flowers look absolutely stunning next to the distressed pallet wood on our bathroom walls.


The lilac blooms smell amazing too!

Another Pallet Shelf for the Kitchen
We loved our Pallet Shelf so much we added one to our farmhouse kitchen.

I hope this inspires you & answers all your questions about how to make a pallet shelf for your home!
by Tara Lehman
Don’t forget to Save & Pin our DIY Wood Pallet Shelf for Flowers!!!

Create & Share Vase Challenge
I am sharing my newest pallet project with you guys today as part of the monthly Create & Share Challenge.
Our April challenge was all about Vases which is the perfect DIY project for Spring.
For even more fabulous DIY vase projects, check these projects below…

Confetti DIY Dollar Store Vase – Up To Date Interiors
DIY Upcycled Vase – Creatively Homespun
DIY Upcycled Mother’s Day Vase – Pocketful of Posies
An Easy Way to DIY Faux Concrete Vases – Green with Decor
Thanks so much to my friends Cat from Pocketful of Posies and Danielle from Creatively Homespun for hosting this challenge.
Some More DIY Pallet Projects you might enjoy


What a fantastic upcycle! I would never have guessed that it was originally a pallet. Well done! And it looks great in your bathroom.
Thanks Lynn! It definitely turned out prettier than I had imagined :).
This is gorgeous, I love it!!
Thanks Meg!
Wow, this is simply stunning! I wish my hubby knew how to make these things too!
Thanks Carolann! We are really happy with how our pallet shelf turned out.
I love this creative vase holder and it looks beautiful in your bathroom!
Thank you Kathy!