
Last night after we put the kids to bed, Jason helped me create this beautiful Ball Jar light fixture for our basement hallway. It was so easy to create, cheap & QUICK… only took about 10 minutes to DIY!
Ha, It actually took more time to decide which Mason or Ball Ball jar I wanted to use than making the light 🙂
Table of Contents
DIY – How to Make a Mason or Ball Jar Light
*this post contains affiliate links for more information check out my disclosure page*

Supplies & Tools Needed for a DIY Mason or Ball Jar Light
- 1 Ball Mason Jar (a vintage gives the light a little more character)
- 1 Ball Mason Jar Lid (I used a vintage zinc one)
- 1 Basic Sconce Light Fixture
- A Tool to cut the lid (we used a Rotozip…similar to a Dremel).
Where to Find Vintage Mason Jars & Zinc Lids
A great place to find vintage Ball jars & lids at a reasonable price is Ebay.
We found our at Wall Scone Fitter at Lowes (see it here) a few months ago to replace the light that was here previously.
At less than $20 it was a good deal!

Unfortunately, it looks like it might not be a available anymore but I found similar ones on Amazon.
Instructions for How to Make a Mason or Ball Jar Light Step by Step
Step ONE – Pry the Milk Insulator from the Old Zinc Lid
First using a butter knife, Jason pull out the milk glass insulator at the top of our old zinc lid.
Any Mason or Ball jar lid would work. If you didn’t have an old lid use a new one….it would probably be easier to cut!


Step TWO – Trace the threaded piece onto the Zinc Lid
Jason then traced the threaded piece that holds the lamp shade to the light.

Step THREE – Cutting a Hole in the Zinc Ball Jar Lid
He then cut the opened with his Rotozip drill while I held down the jar.

Step FOUR – Screwing in the mason or Ball Jar Light
Next, we put it on the sconce and screwed on the threaded shade holder.
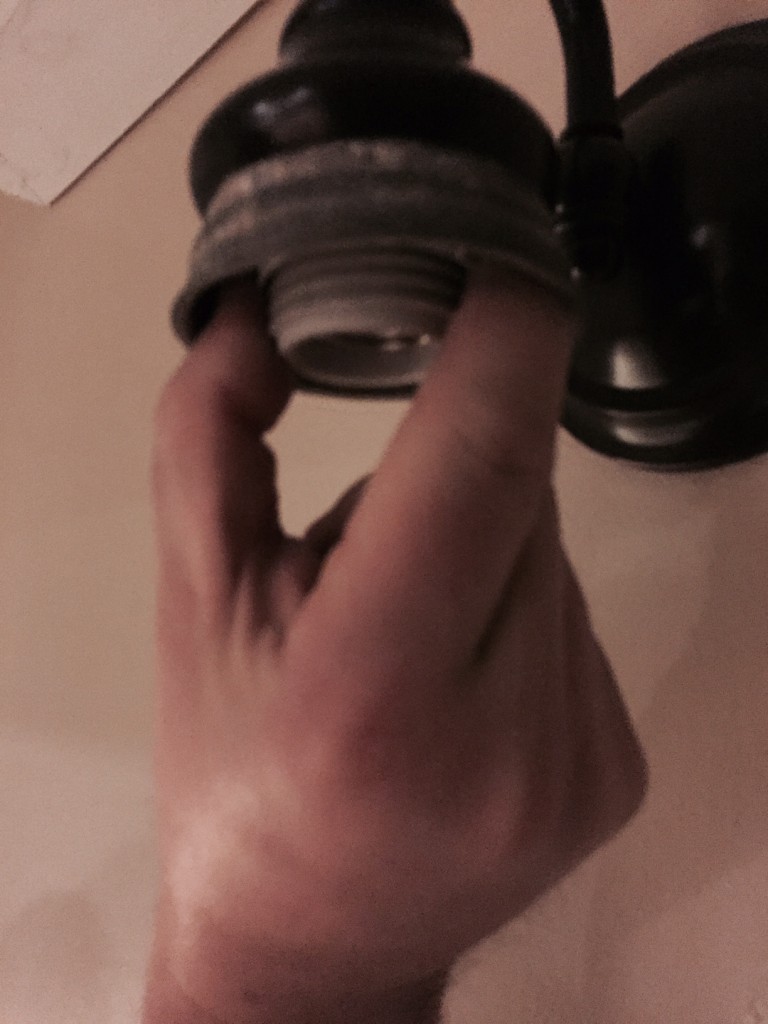
Step FIVE – Add your Light Bulb
Add your light bulb (I definitely thought about adding an Edison bulb).
Make sure the bulb will fit inside your ball jar light & is a low voltage so it does not heat up the glass.

This was our first Ball jar choice we later decided the vintage blue looked better:). This pic was taken at about 10:30 last night… I was determined to get this done! Ha!
Choose which Mason or Ball jar looks best (I chose a vintage blue one)

I hope this inspires you & answers all your questions of how to make a mason or ball jar light.
by Tara Lehman
If you like our ball jar light, check out our DIY Mason Light Lantern

DIY Pallet Towel Rack wit Mason Jar Q Tip Holder
Simple Flower Arrangement Tips
More DIY Project Ideas you Might Enjoy


Neat idea – one caution would be to use a low heat producing bulb similar to the compact florescent you have use – better still would be a LED bulb.
Great Tip, Thanks Paul! And Thanks so much for stopping by:)
I would drill a few tiny “air holes” in the zinc cap if I were you…..just to make sure heat doesn’t build up in the glass jar.
Thanks so much for the tip Sharon. I think that would be very important if you were using a normal incandescent bulb. We have found that the florescent bulb we have in there only warms up the jar a teeny bit even when it’s been on all day…but maybe we will drill holes in the lid anyway…you can never be too safe:). Happy Thursday!